Wednesday, August 30, 2023

Merry and Bright


I started with a 4 1/4 x 11 ( half sheet) of basic white thick cardstock, scoring at 5 1/2.  I attached a panel of 4 x 5 1/4 the new merry and bright DSP from stampin up.  I used the deckled edge dies to cut out the center to create my aperture.  I then used the merry and bright dies to cut the lights and light string out using scraps of pretty peacock, daffodil delight, pumpkin pie, sweet sorbet, garden green and azure afternon cardstocks.  


After attaching the lights to the string I then adhered then to the inside and the front using liquid adhesive.  I then used the merry and bright stamp set to stamp the merry christmas in real red and the to you and yours in evening evergreen then just cutting out using paper snips.  The piece of cardstock used to bring the whole tent look together I cut basic white thick cardstock to 3 x 4 1/8 and with the 3 inches at the top scored every half inch.  I then folded this into an accordian fold and adhered to the botton so my card would stand properly.  I love the bright colors of the merry and bright DSP and the fun stamps and dies.  These are all available at a 10 % discount if you buy the bundle in the mini catalog from stampim lodge.  I will be submitting to the following challenges:

Monday, August 28, 2023

ROYGBIV

I started this project with a note card from stampin up.  I used a stamp from the sweet conversations (retired) stamp set.  I stamped the rainbow using the following ink pads:
Sweet Sorbet- R
 pumpkin Pie- O
Lemon Lolly- Y
Granny Apple Green- G
Blueberry Bushel- B
Starry Sky- I
Gorgeous Grape- V


I used the just my type stamp set, from the 2023-24 annual catalog, for the sentiment.  It went with the project perfectly.  I stamped the insode to match and even stamped the envelope to go with the card.  


I love a clean and simple card that is made with just stamps, ink and paper.  Its a card that took very little time but looks like it took a ton of work.  I know I would love to receive this card!!  I will be submitting to the following challenges:


Sunday, August 27, 2023

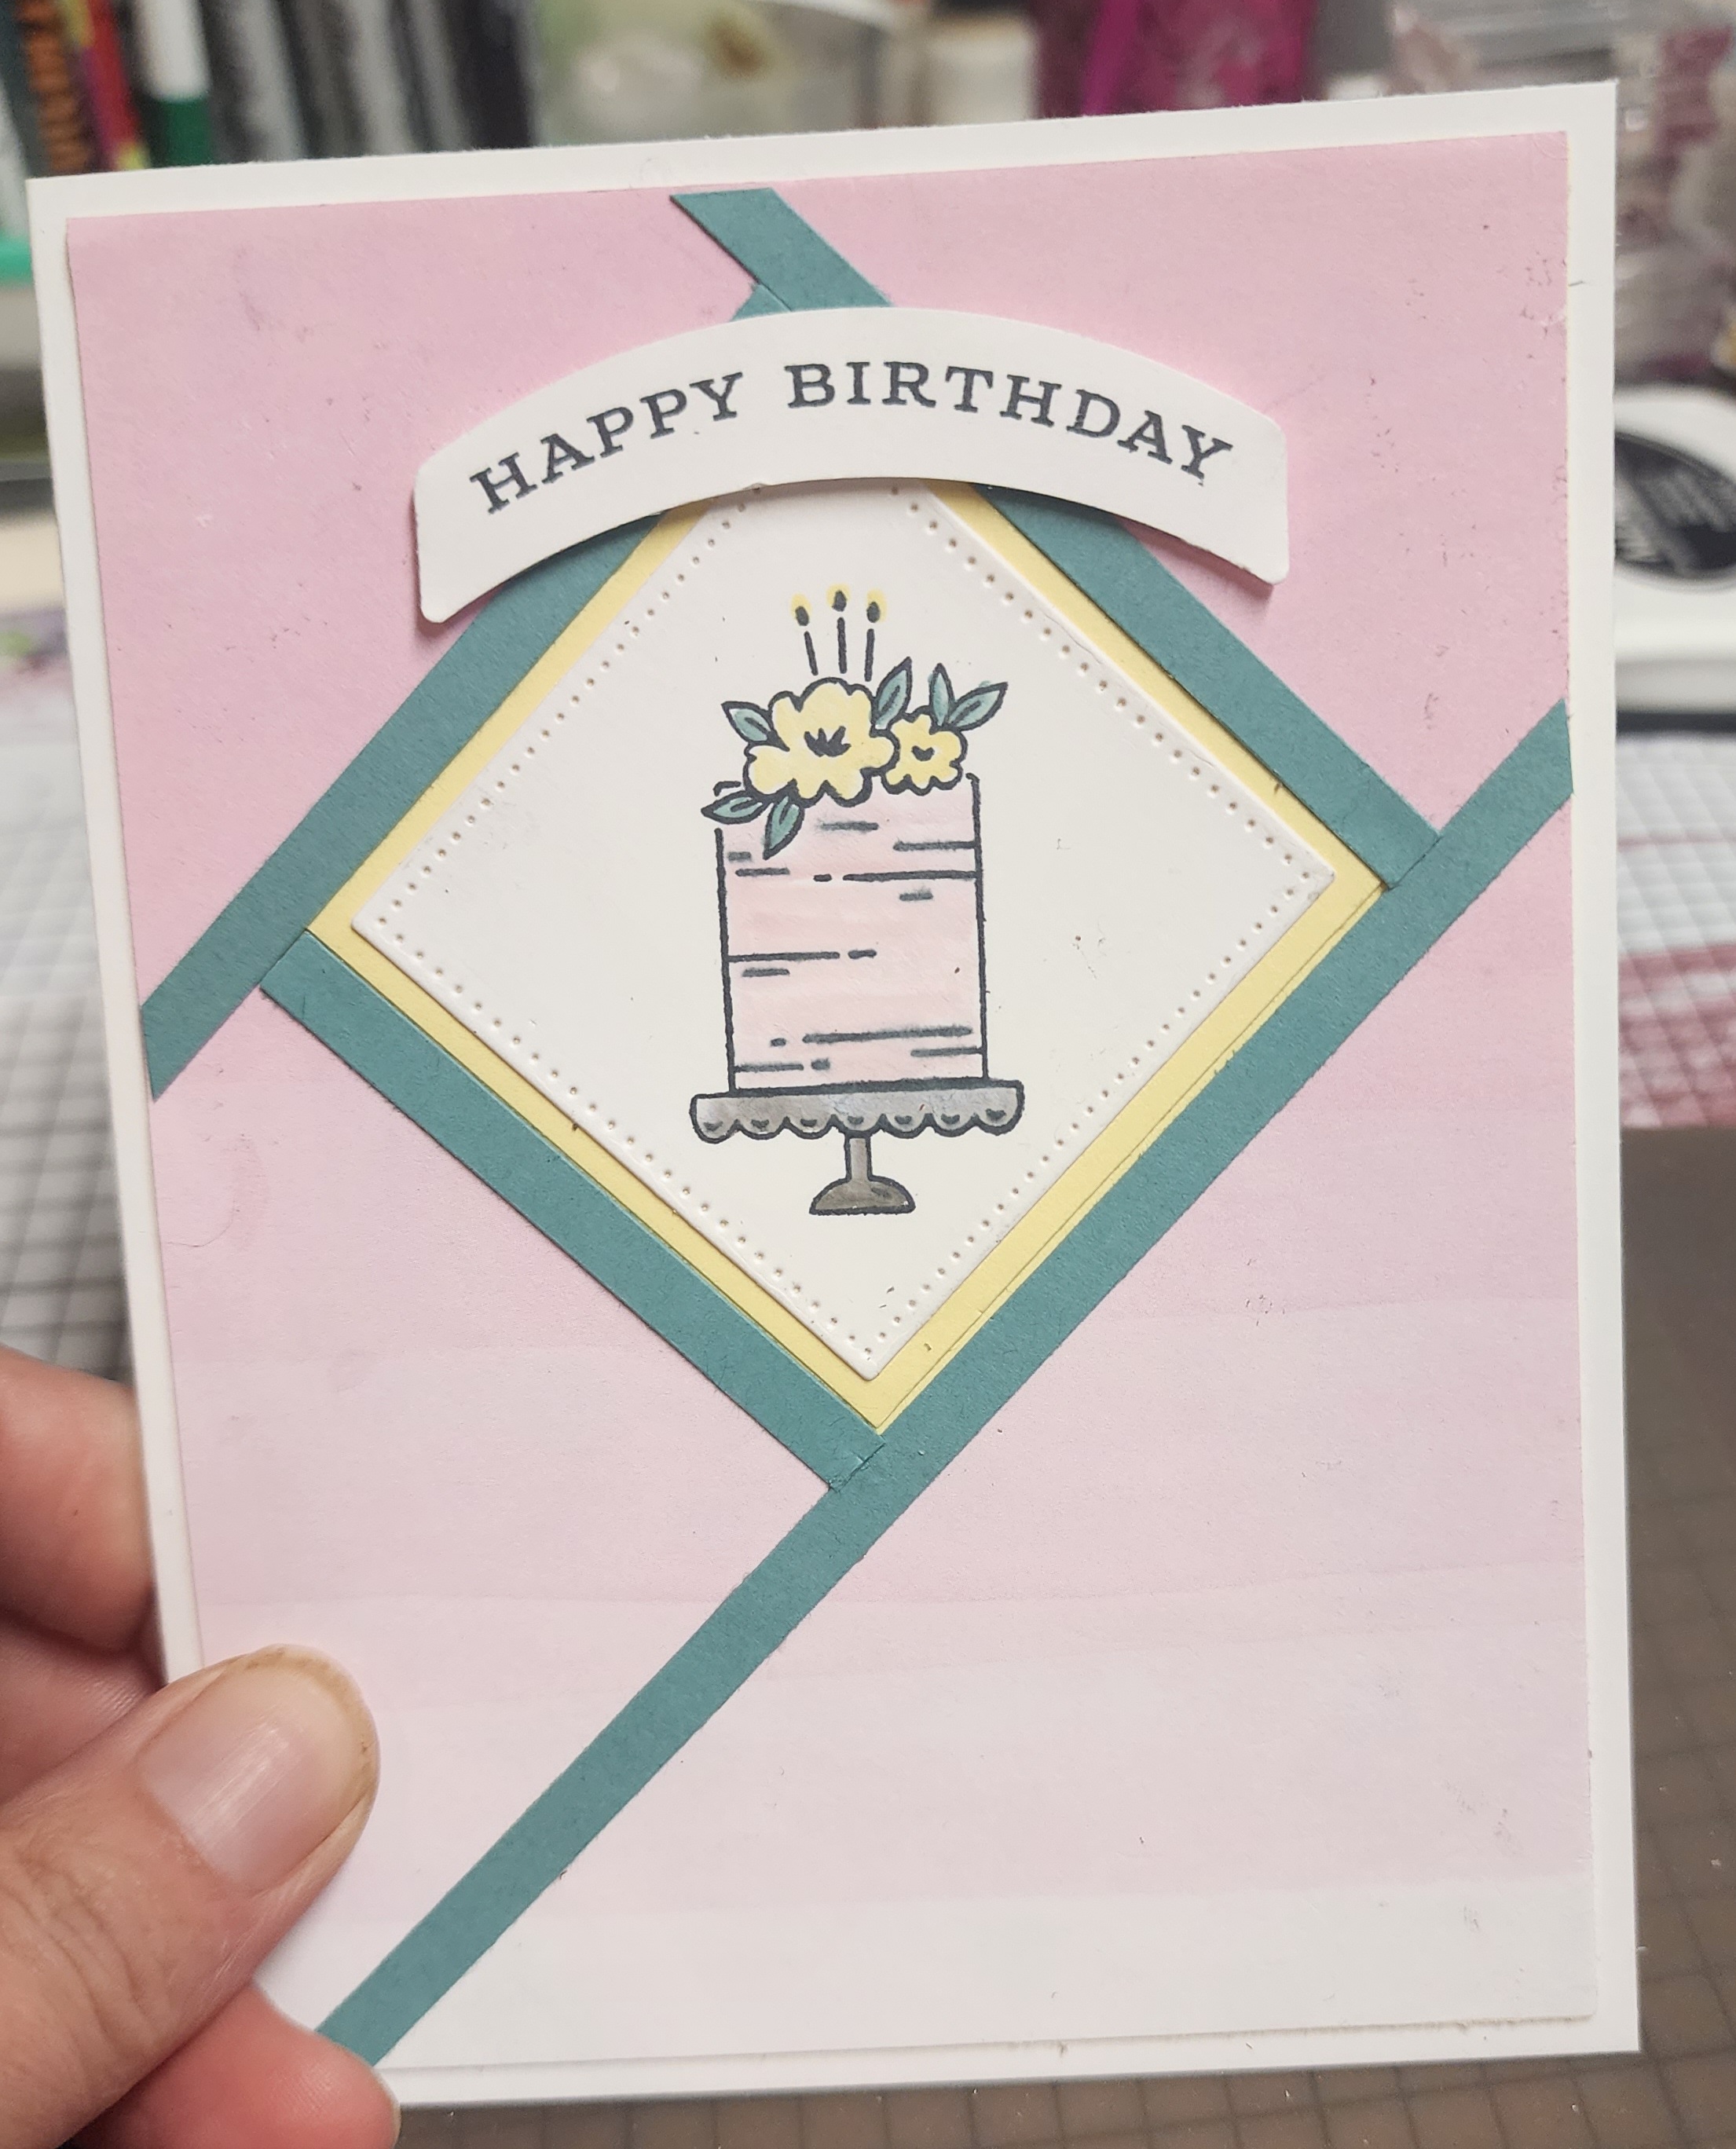
Happy Birthday Shutter


I had been seeing faux shutter cards all over and loved the way they looked so I decided I would try one with my own tweaks to it.  I am actually very happy with how it turned out (not terrible for the first one I ever made).  I stamped the cake from curved occasions, in the new stampin up mini catalog, and colored with my ink and blender pen.  I really like the look I get coloring my images that way and its so easy.  I used the punch that comes with this if you purchase the bundle (savings of 10 % if purchased as a bundle so why not!!).  I stamped the Happy Birthday in memento black ink on the punched out cardstock.  I really like the colors, bubble bath, lost lagoon and lemon lolly together, they are so soft and pretty.  I will be submitting to the following challenges:


Friday, August 25, 2023

Tricks & Treats


I made this card using the new tricks and treats bundle from stampin up.  It comes with some seriously cute halloween images ass you see above and some dies that are to die for!!  Mainly one can make the cutest little treat bags with the dies but so much more can be done you just have to think outside of the "bag" ha ha.  I ordered the new them bones dsp but It was not put in my order (should be her any day) but a friend of mine let me use a couple pcs of it and let me tell you im excited about getting it bc it is super cute.  I used pumpkin pie, basic black and basic white as well.  


I just recently got the tag topper punch and the modern label punch so I was able to make my very own flippy flappy card and I must say being a halloween lover I am really pleased with the end result.  I am also really pleased with this bundle and will definitely be making treat bags for my daughter to take to school for their halloween party.  I am submitting to the following challenges:


Thursday, August 24, 2023

Butterfly, Embossing folder, Gatefold and Flowers


I made this using the butterfly Brilliance Bundle (retired) from stampin up.  I stamped the entire stamp, which is several butterflies on one large stamp, ink blended the colors of the flowers from the front and then cut out from the single large die.  I then cut out the single, detailed butterflies from vellum card stock.  I used the new tile embossing folder on the front panels after I stamped the bottom full of flowers and leaves from the pretty perennials stamp set (retired).


Inside I added a little lone butterfly to complete my project.  I chose the column with gatefold, flowers, stamps and of course the butterfly for the current Butterfly Challenge and will also be submitting my project there.


Tuesday, August 22, 2023

P= Presents and Q= Quick


I started with an A2 size card base of thick basic white and a 5 1/2 x 4 1/4 panel of basic white.
On the panel of basic white I stamped the merry from the new stamp set from stampin up called more wishes.  I used my stamparatus and using the hinge step technique I stamped in poppy parade, old olive, sweet sorbet and parakeet party.  I then stamped the christmas in parakeet party and sweet sorbet.  The cute little gift I stamped in parakeet party and cut the bow in sweet sorbet from the sending cheer dies and stamp set.  


Inside I used stamps from more wishes for the sentiment and sending cheer for the holly and berries.  I knew I had to have this stamp set as soon as I saw it in the stampin up mini catalog because I have the biggest wish set from the last annual catalog.  I love the big, bold fonts and love how both sets also have the pretty scripty fonts in all the same words.  Hinge step stamping with the stamparatus allows me to get perfect placement everytime, I do not have to move the stamp itself or the cardstock, just move my stamparatus plate down.  I will be submitting to:

ABC Christmas Challenge- P= presents, Q=quick


Monday, August 21, 2023

Christmas Wishes all Around


I started with a basic white thick A2 card base.  I added a panel of poppy parade and a panel of the new merry and bright DSP.  I also cut the pretty decorative edge form the prized peony dies.  I stamped the trees in pear pizazz, I used the large round framelit from the new wishes all around bundle from stampin up.  I used the layering circle dies (retired) to cut the poppy parade circle to put behind the trees.  I stamped the sentiment in versa mark. added white detailed embossing powder and heat set with my heat gun.  I used the black and white  gingham ribbon for the decorative edge and the bow.


Inside I stamped the sentiment in memento black and added a 1/2 strip of the same DSP as above.  I stamped 3 little trees from the same stamp set.  I love the Wishes all Around bundle.  Its got some really nice stamps and dies and I have been having lots of fun creating with it.  I will be submitting to the following challenges:


Please check out my other blog!!

 I have added the link to my other blog that I have started.  This blog will be associated with my youtube channel, my instagram and will at...